

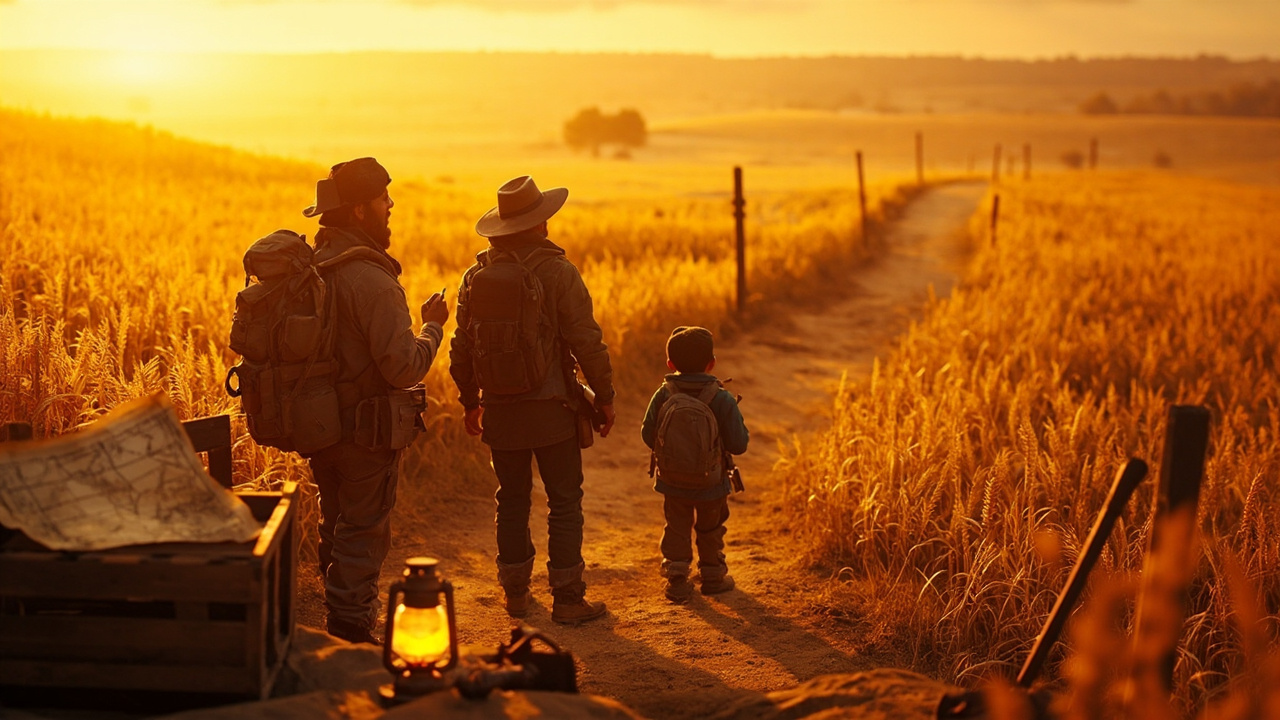
Yellow Harvest is an optional region in Clair Obscur: Expedition 33. It is easy to see its entrance while exploring the early Continent and assume that a missed switch or hidden path is nearby. In fact, access depends on story progress: the party needs Esquie and the traversal ability used to break the rocky obstruction on the world map. Once that ability is available, Yellow Harvest becomes a compact but rewarding detour with journals, weapons, Pictos and several demanding encounters.
When Yellow Harvest becomes accessible
The useful checkpoint is Esquie joining the expedition. Before that moment, the blocked route is simply not ready to open. Continue the main story through Esquie’s Nest, return to the Continent and travel toward the area northwest of Gestral Village. The entrance sits in the yellow-toned rocky region near the first Gestral Beach and the Hidden Gestral Arena side of the map. Use Esquie to clear the obstacle, enter the portal and activate the first Expedition Flag immediately.
This timing matters because Yellow Harvest is optional. Nothing is wrong with a save file if the story does not send the party there. Players can complete it during Act I or return later with stronger builds.
A sensible route through the area
Move methodically rather than rushing toward the next flag. Yellow Harvest uses slopes, side paths, caves and vertical landmarks to hide rewards just outside the main line. At each open section, check the outer wall first, then sweep the centre and finally follow the obvious route forward. This simple pattern reduces backtracking.
The two names worth remembering are Harvester’s Hollow and Yellow Spire Wrecks. Harvester’s Hollow contains broad exploration space and journal locations. Yellow Spire Wrecks leads toward tougher optional fights. Rest at every flag even if the party is healthy: it creates a reliable return point for collectible cleanup.
What to prepare before entering
Bring a party that can apply more than one elemental or status option. The region mixes ordinary enemies with encounters that punish a single repetitive rotation. Upgrade the weapons actually used by the active party, equip Pictos that support the chosen playstyle and leave enough healing resources for an unexpected boss attempt.
- Spend unused attribute points before entering.
- Review each character’s equipped skills rather than relying on auto-filled slots.
- Keep at least one reliable way to generate Ability Points.
- Use the first attempt at a boss to learn timing instead of consuming every resource immediately.
Optional bosses and why they feel difficult
Yellow For additional context, Harvest contains optional opponents that can be stronger than nearby story encounters. The Chromatic Orphelin fight involves upgraded enemies and rewards Lune’s Kralim weapon. Glaise appears in the Yellow Spire Wrecks section and rewards Maelle’s Plenum weapon along with upgrade materials. If either fight removes party members in one sequence, leaving and returning later is a reasonable decision rather than a failed route.
Parry timing produces the largest payoff, but dodging is the safer learning tool. Watch a full enemy sequence, note whether the final strike is delayed and only then attempt aggressive counters. A clean defensive round usually teaches more than several rushed restarts.
Journals and collectible sweep
Three expedition journals are associated with the region: Expeditions 38, 44 and 59. Two are found around Harvester’s Hollow, while the third is in the Yellow Spire Wrecks section. Their value is not limited to completion percentage; together they add context to earlier expeditions and the history surrounding Lumière.
Because patches and platform versions can affect labels or minor presentation details, use landmarks rather than memorising a single screenshot. Search uphill edges and lantern-marked spaces in Harvester’s Hollow, inspect the lakeside paths, and check dead ends around the red-lit wreck area.
Rewards worth checking before leaving
| Reward type | What to check | Why it matters |
|---|---|---|
| Weapons | Kralim and Plenum | New build options for Lune and Maelle |
| Pictos | Side routes and boss rewards | Can unlock useful Lumina effects |
| Journals | Expeditions 38, 44 and 59 | Lore and collection progress |
| Upgrade materials | Bosses and exploration pickups | Useful even when returning later |
Common reasons a collectible seems missing
The most common problem is searching from the wrong flag or assuming every path continues forward. Some rewards sit behind a short detour that ends at the item. Another common issue is following a video recorded in the opposite direction, which makes familiar landmarks look reversed. Reset at the named flag, face the route described by the guide and verify one landmark at a time.
It is also possible to enter early, collect the journals and postpone the bosses. Yellow Harvest does not have to be cleared in a single visit. Mark what remains and return when the party’s weapons, Pictos and parry timing are stronger.
FAQ
Is Yellow Harvest required for the main story?
No. It is an optional area, although its rewards and journals make it worthwhile.
Why can’t I break the rocks at the entrance?
Progress until Esquie joins the expedition and unlocks the relevant world-map traversal ability.
How many expedition journals are in Yellow Harvest?
There are three: Expeditions 38, 44 and 59.
Should I fight Glaise during Act I?
You can, but the encounter is optional. Return later if the party is under-levelled or the defensive timing is not yet comfortable.
For route cross-checking, consult the current Yellow Harvest journal guide and a maintained area checklist, which provides useful background for this point. Use them as navigation references, since patches may change small interface details.





Leave a Reply